As is it with most food, the fresher the tofu the better. And nothing is fresher than homemade tofu. Its a little laborious but making tofu from scratch is fun and fairly easy – especially if you have the right equipment. The hardest part or more accurately the laborious part is the fact that you first have to make soy milk… but it is worth it.
There are already a number of recipes, videos and blogs out on the web about making soy milk and tofu but none (or at least that I know of) about making artisan tofu or what I’m calling “vegan quiche.” What makes vegan quiche or artisan tofu different and special is the way it is made with vegetables and spices suspended in the tofu. It also worthwhile to note that my vegan quiche recipe is crust free and therefore it is gluten free.
Soy Milk
- 1 cup soy beans (preferably organic)
- 1 large bowl
- Fine cheesecloth
- 13 cups of water
- 1-2 large stock pots or pans
- Large strainer or colander
- A blender or soy milk maker
 I start with USDA Organic Illinois grown soy beans grown by Breslin Farms, a father and daughter duo growing organic heirloom wheat, black beans, soy beans, and sweet corn. First step no matter what is soaking the beans in water overnight for 8-12 hours. The beans will nearly triple in size. After the beans have been soaked its time to make soy milk.
Before you start making the soy milk for ‘”vegan quiche” prepare your fillings for the “quiche” which can really be whatever you want. I took a half cup of vegetable broth, about 1 cup of chopped kale, 1/4 cup dried local shiitake mushrooms, a teaspoon of garlic powder, a tablespoon of tamari sauce, and a 1/4 cup of nutritional yeast flakes and mixed them all together to marinate and let the mushrooms rehydrate. 
Do a little poking around on the internet to find out how to make soy milk. Here, here and here are three decent places to check out for instructions on making soy milk, now a days I have a Soymilk making machine. Whatever recipe you use its best to skip the flavoring and sweetener part if you are making tofu. Also, if you are using a blender it is my personal recommendation that you use hot nearly boiling water to blend/grind your soy beans, that will help eliminate the beany taste. Here is a good NPR story on making tofu that also includes the step of making soy milk. Keep the left over soy bean matter which is also known as okara, as there is a lot you can do with and it is very nutritious. I recently combined it with spices, corn meal, and a little garbanzo bean flour dusted with cooking oil and baked in the oven to make something that was somewhere between hush puppies and falafel.
Now that you have your soy milk made and your quiche ingredients marinating its time to actually make the tofu.
Vegan Quiche – Artisan Pressed Tofu
- 3 liters of fresh homemade soy milk (two soy milk maker batches, a total of 1 cup of soy beans worth)
- 1/4 cup hot water
- Coagulant – Options: 1/2 – 1 tablespoon of Nigiari, 2 teaspoons Epsom salts (magnesium sulfate), 4 tablespoons freshly squeezed lemon juice or 3 tablespoons apple cider vinegar. (I have never tried anything but Nigiari but the others should work too, check this out for a good discussion on making tofu and the coagulant options.)
- 1 large stock pot
- Fine cheesecloth
- Tofu press or box
- Weights to press tofu (I use canned food)
- “Quiche” fillings: 1/2 cup of vegetable broth, about 1 cup of chopped kale, 1/4 cup dried shiitake mushrooms, a teaspoon of garlic powder, a tablespoon of tamari sauce, and a 1/4 cup of nutritional yeast flakes.
- 1 tablespoon of Coconut Oil
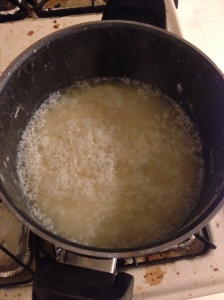 I’m assuming you have already prepared your “quiche” ingredients at this point but if not stop and do it now. Back to the soy milk and tofu. Bring the soy milk to a boil. Once the soil milk is boiling reduce it to a simmer. Then dissolve your coagulant in warm water. Pour half the coagulant into the water and give it one stir and turn off the burner, but leave the pot in place on the stove. The tofu will quickly began to coagulate separating into soy curds and whey (I save the whey and make vegetable broth with it or add it to sauces). Wait a couple minutes and then add the rest of the coagulant and stir one more time. Wait a minute and then add your “quiche” ingredients and stir gently once or twice.
 Now you are ready to press the curds into tofu. Put your tofu press or box or make shift tofu pressing set up in a baking dish or on a large plate, you need it to be on something that will be able to catch the excess liquid that will be pressed out of your tofu. (I start in a clean sink with the tofu press on a plate, once I filled the press and let some of the excess liquid drain off I move it to the counter.) Line the tofu press with your cheesecloth. Then using a large ladle begin scooping out the soy curd and quiche ingredient mixture into the tofu press/box, leaving behind as much of the liquid as possible.
Once you have ladled out most of the soy curds and ingredients into the cheesecloth lined tofu press you can gently fold the cheesecloth down on top of the soy curd mixture and place the top of the tofu press on top of the folded cheese cloth. Then place weights on top of the press to begin pressing the tofu into a block and removing the excess moisture. How long you press the tofu for depends on how firm you like it. I pressed my for about 45 minutes.
 Once the tofu has been pressed to your desired firmness you can actually go ahead and eat the fresh tofu at that time, if you want. Fresh tofu, whether with ingredients suspended in it or not, tastes so much better than the alternative. You can actually eat it fresh without any additional cooking or preparation steps. At this point fresh out of the press it still warm and has a really yummy and creamy taste too it. In fact that’s what I did. I cut my tofu block in half and had one half fresh for dinner and saved the other half for “quiche.”

The only other step left to make the “quiche” was to dust the piece of artisan pressed tofu with a little coconut oil, place it in a glass baking dish and bake for 45 minutes. When I tried this I had not actually intended for it to be vegan quiche it was just that after eating it I realized that it tasted whole lot like crust-less quiche! I garnished mine with avocado and a light (1/2 tablespoon) drizzle of Italian dressing.

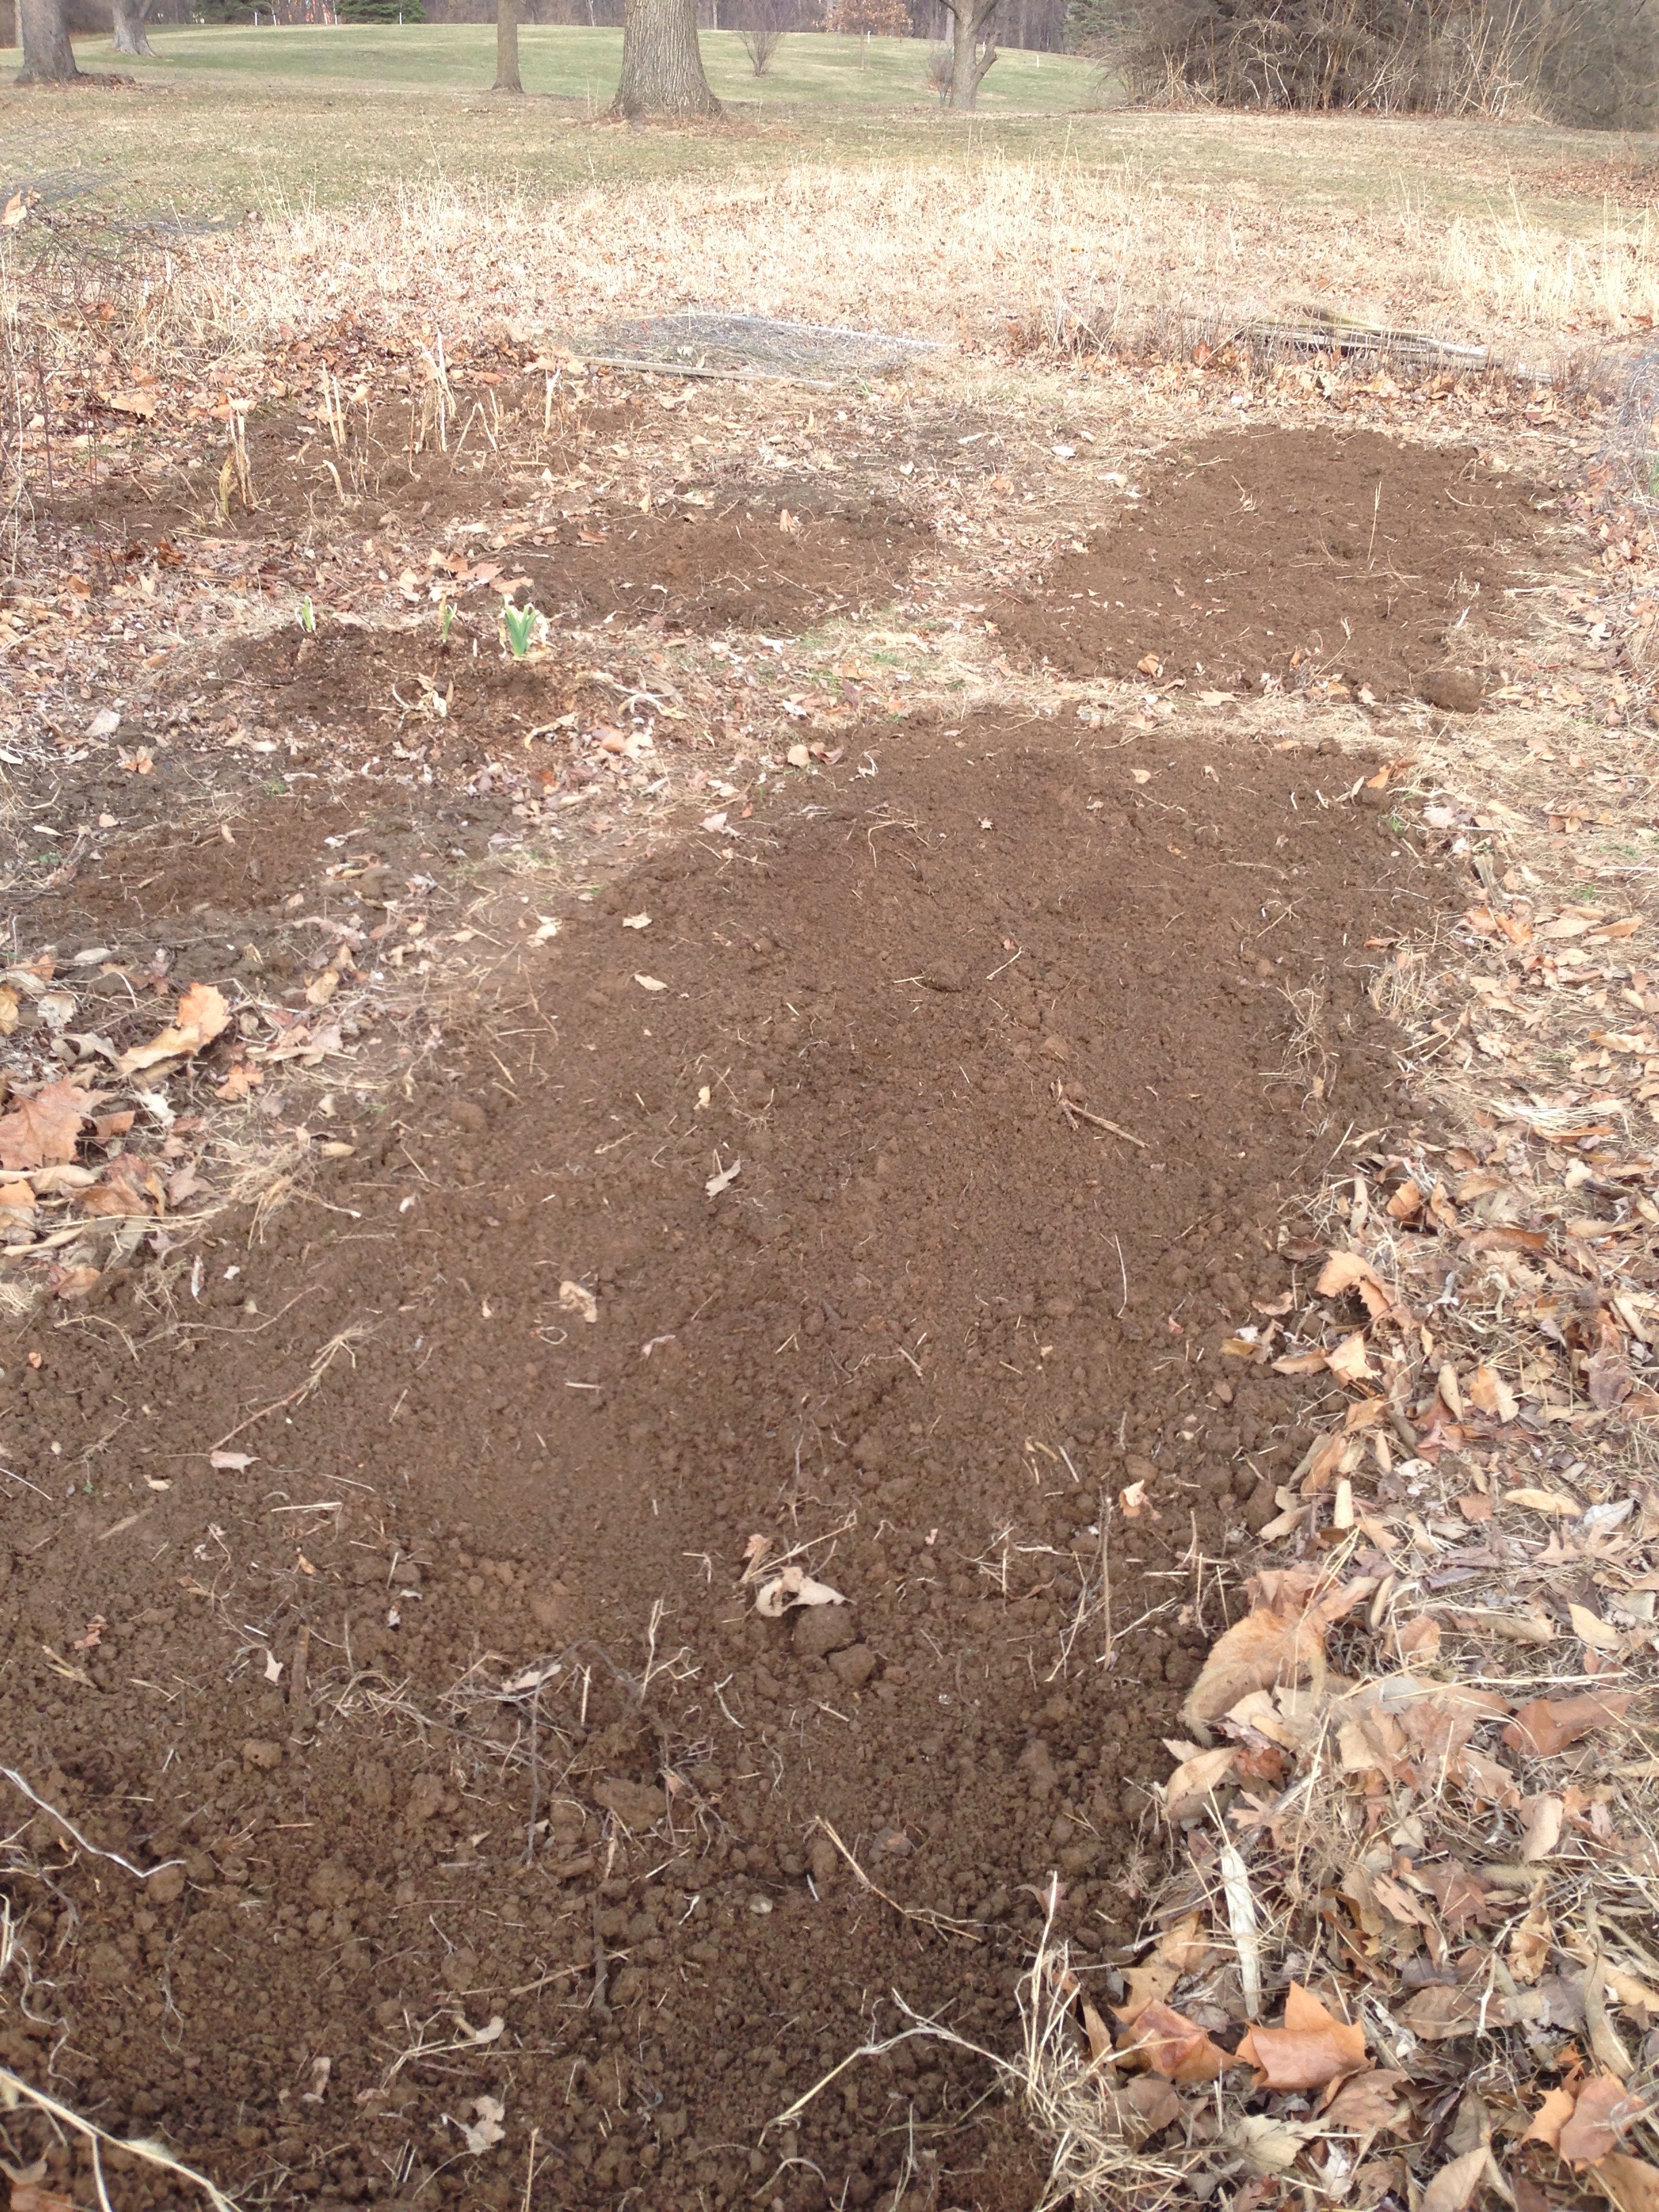
 Knowing how hearty spinach is I am actually surprised the spinach I planted last fall survived the winter of the polar vortex. In a couple weeks or so I will be making my first harvest of the year. Wait scratch that, already happened. First spinach harvest of the year.